
Tutorial - How to create a GPS
A GPS is a ghost you import into your map, which can be attached to a trigger and let players see exactly how you can drive the map or find the route of your map. It is something that can be extremely useful for more complex maps or new players starting with the game. This page will guide you through the process of creating a GPS for your custom map in Trackmania,
This tutorial assume that you already have a finished map ready or a map with a finished route as changing the route will make the GPS obsolete. However, you can add scenery after creating the GPS as long as you don't alter the route of the map.
Step 1 - Drive your map to create a replay
You first have to drive the map and create a replay of your run as this replay file will be used later to import the player ghost for the GPS.
There are several way to do it. One way is to do it during validation. When you complete the map during validation you will end up with the following screen:
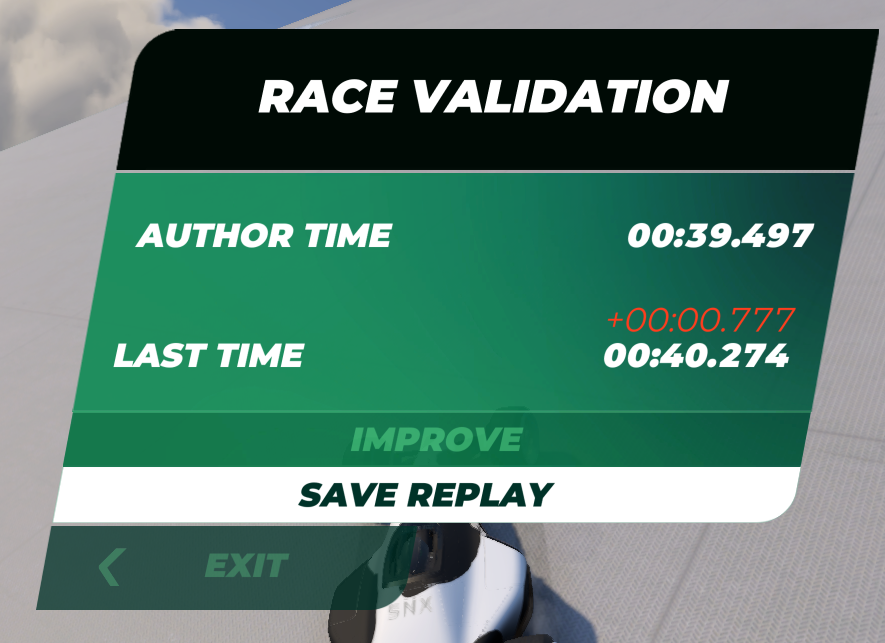
You can click the button SAVE REPLAY, which will create a new replay file for you under Documents\Trackmania\Replays\My Replays.
Another way is to validate the map, then go back to the main menu of the game, and go to LOCAL -> PLAY A MAP. Then drive your map and save the replay when you complete it.
It is also possible that your game have made an auto-save of the best run you managed to drive on your map under Documents\Trackmania\Replays\Autosaves.
A third way to get a replay for your GPS is that you can ask someone else to drive the map for you. Maybe you need a GPS that is driven very well, but your skills are not up to par for that, you can ask someone who is better to drive it for you and ask them to send you their replay file. Make sure you save this replay file under Documents\Trackmania\Replays.
Step 2 - Create a trigger for your ghost in the MediaTracker
Go to the MediaTracker by clicking the film icon at the bottom-right of your editor:
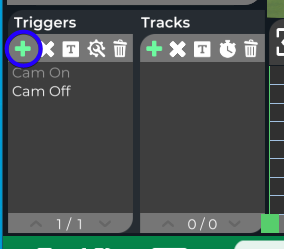
When in the MediaTracker create a new trigger by clicking the + symbol under Triggers:
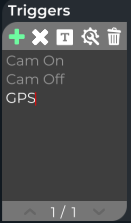
You should see a new trigger popping up with a default name. To make the trigger more descriptive, you can double click on the name and write GPS or something similar:
Next click the gear icon 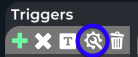 to enable trigger placement in the map. You can move the selection up and down with your scroll wheel. To place a trigger, move your mouse to the appropriate position and left-click with your mouse. If you left-click again at the same position, the trigger block will be deleted. You can also make a bigger area by holding down your left mouse button and move the mouse around. Release the button to place the trigger blocks.
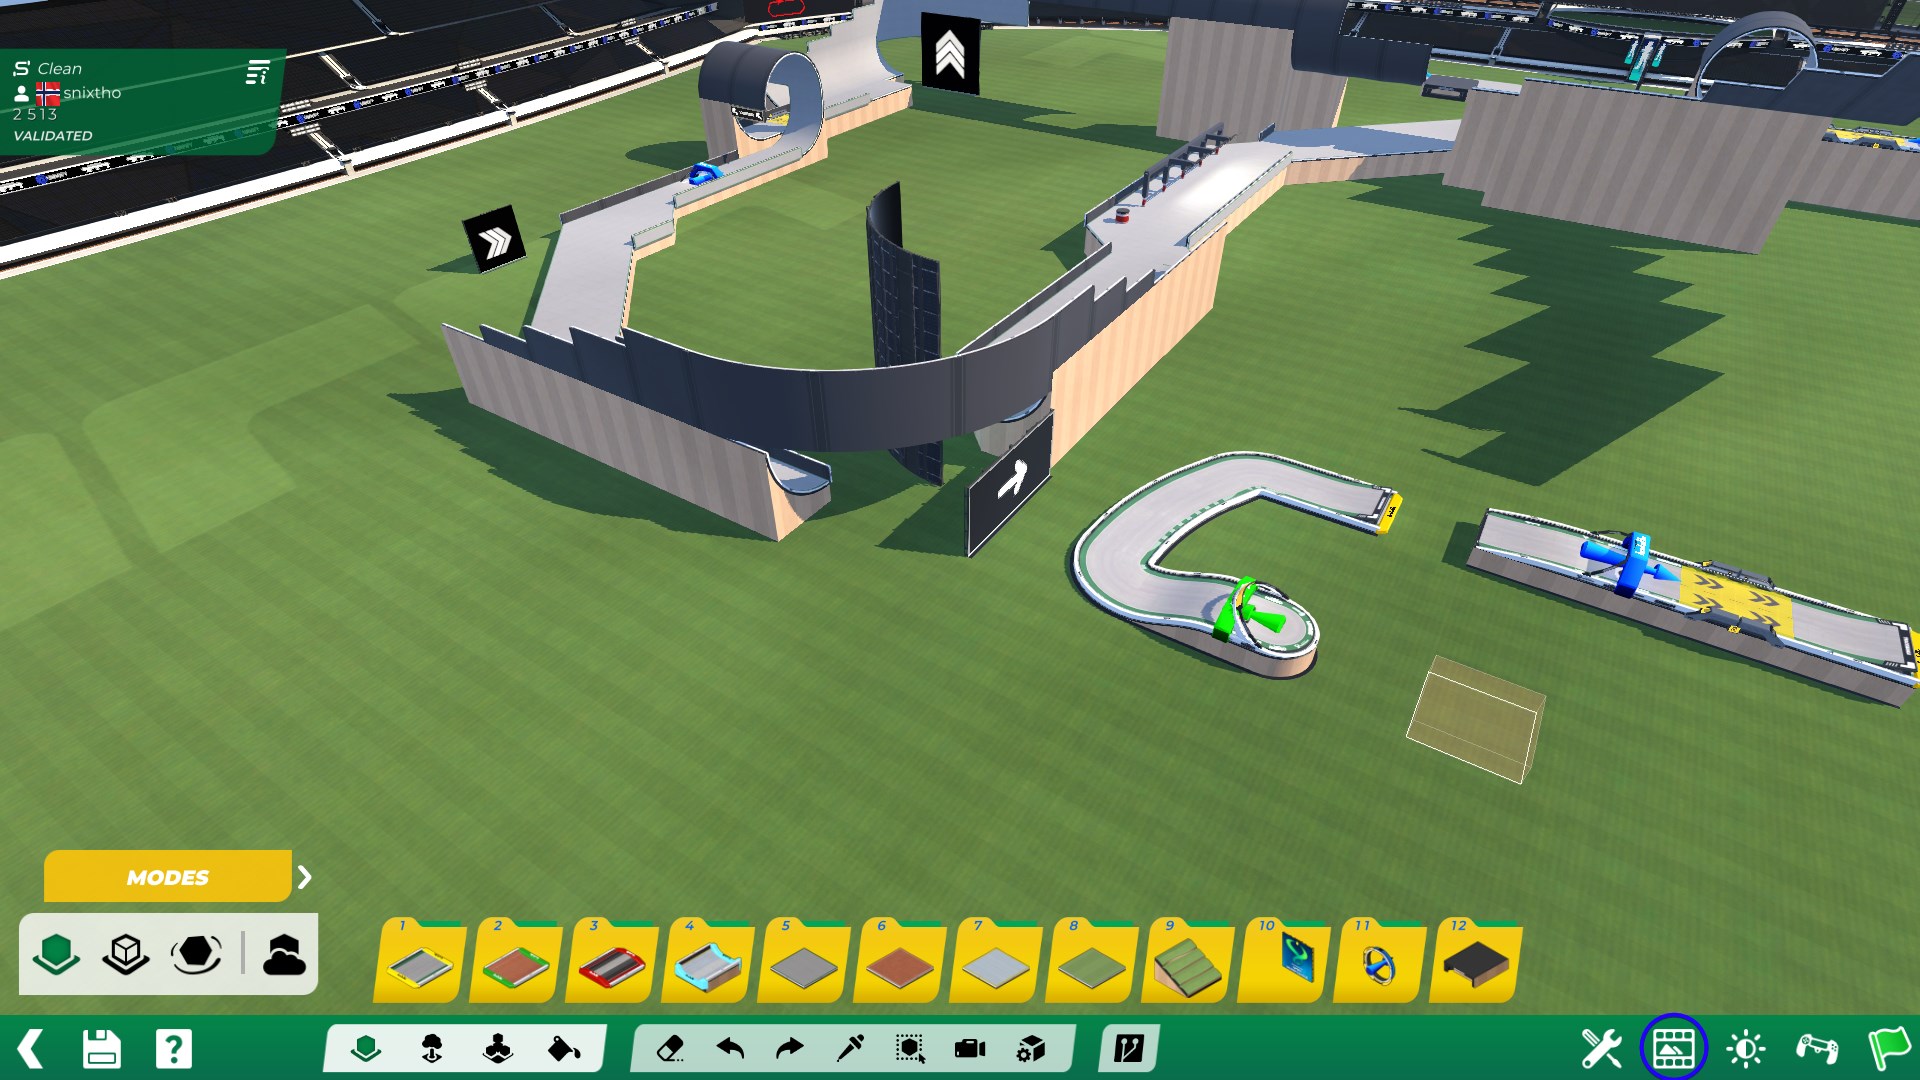
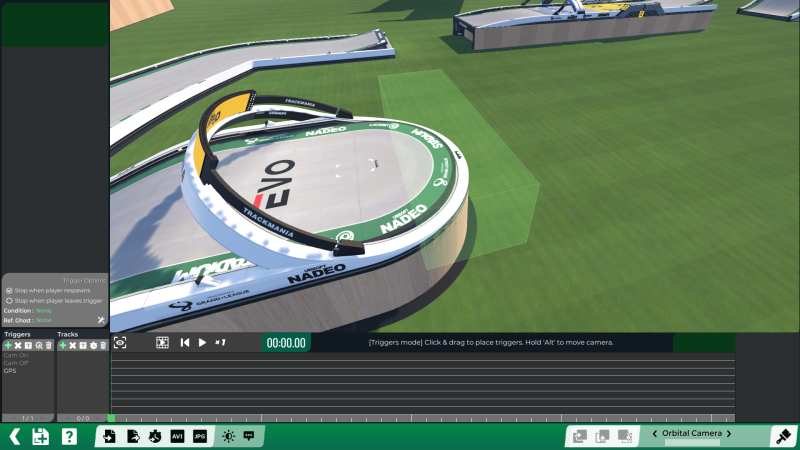
Now, find the place where you want your GPS to activate and place the trigger blocks and place them. For example, I decided to make people drive backwards in the start to activate the GPS, so i placed them here:
Step 3 - Import and attach your replay to the new trigger
Make sure you select the trigger you made in step 2 by clicking it's name in the triggers list. At the bottom-left of the MediaTracker there is a icon that looks like a stopwatch:

When you click this a file browser will show up, go to the location of where your replay is saved (look in step 1 for possible locations)
. 
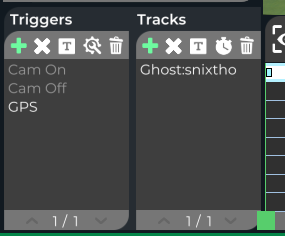
Select your replay and click OPEN. You will see under Tracks that your replay appeared with the name of Ghost:<your name> or something similar:
Step 4 - Attach a camera to the GPS ghost
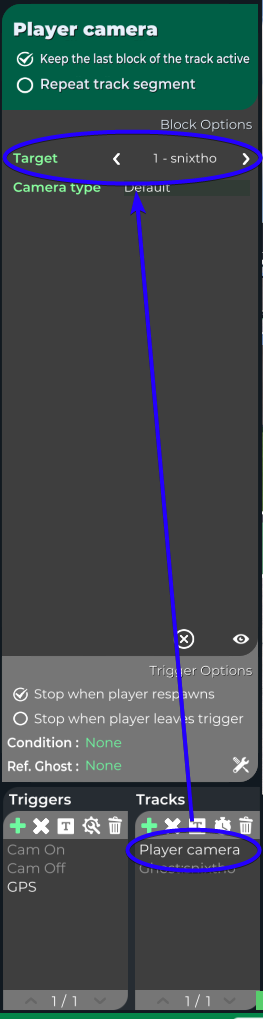
Right now, if you drive into the trigger box, you will see the GPS ghost just drive away without your camera following it. In order to make your camera follow the GPS ghost, you need to create a Player Camera under your GPS trigger.
Start by clicking the + icon under Tracks:

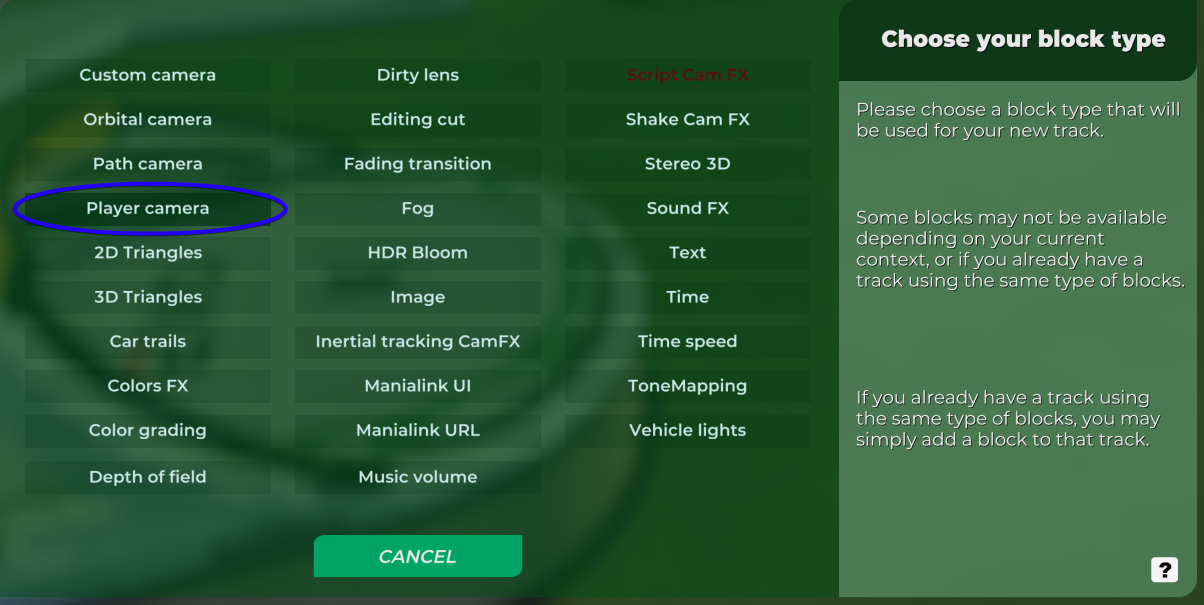
Then click on Player Camera:
This will create a new entry for your GPS trigger named Player Camera. Click on this newly created player camera to select it, and then further up you will see the options related to the player camera. You now want to set the Target to something similar to 1 - your name if you drove the ghost. If you had someone else drive the GPS for you, move through the targets and find the target refering to that other person. In my case it looks like this:
Step 5 - Test your GPS!
Start a race and drive to the GPS trigger. If you did everything correctly, the GPS will start driving and your camera should follow it all the way to the end of the map. Pretty cool!
1 Comment
First!